LTI Pro Gives instructors the following functionality:
- Schedule and manage meetings
- Start or join meetings
- View upcoming meetings
- View and manage previous meetings and recordings
- Auto-provision a Zoom License for instructors
LTI Pro gives students the following functionality:
- View upcoming meetings
- Join meetings
- View previous meetings and recordings
Prerequisites
- Education, Business, or Enterprise Plan
- Zoom Account user with Admin role permissions
To enable Zoom LTI Pro on your Moodle site, you will need to first install the LTI Pro App on your Zoom account, then configure the LTI connection in Moodle.
Install Zoom LTI Pro App
- Follow these instructions from Zoom
Configure Zoom LTI Pro
- Follow these instructions from Zoom
Configuring LTI Pro on Moodle
- Copy your LTI Key and LTI Secret by following steps 1-4 in the Configuring LTI Pro page.
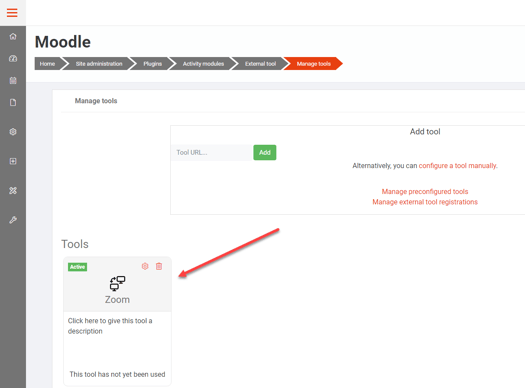
- Sign in to Moodle as an administrator and go to Site Administration > Plugins.
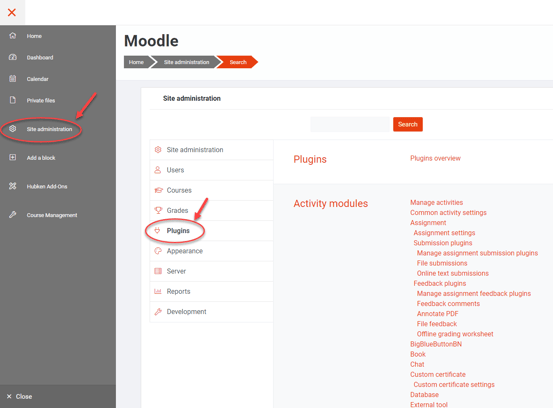
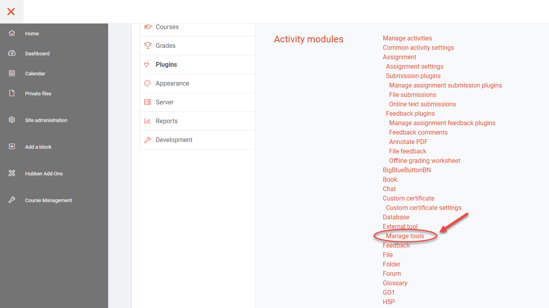
- Choose Manage tools.
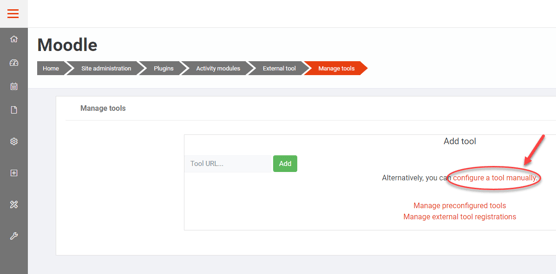
- Click configure a tool manually to create the Zoom LTI.
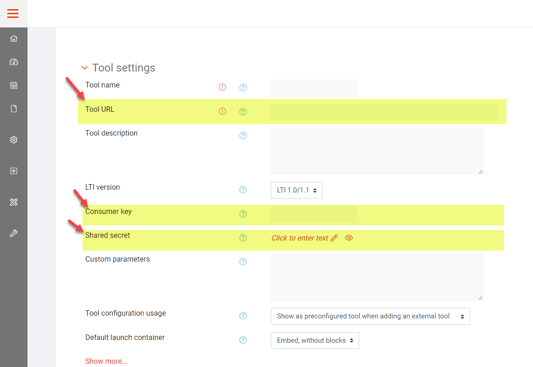
- Configure the external tool with the following:
- Tool name: Zoom Video Conferencing (or what you want the tool to be called.
- Tool URL: Paste the LTI URL from Step 1.
- Consumer key: Paste the LTI Key from Step 1.
- Consumer secret: Paste the LTI Secret from Step 1.
- Tool configuration usage: “Show as preconfigured tool when adding an external tool”
- Default launch container: “Embed, without blocks”
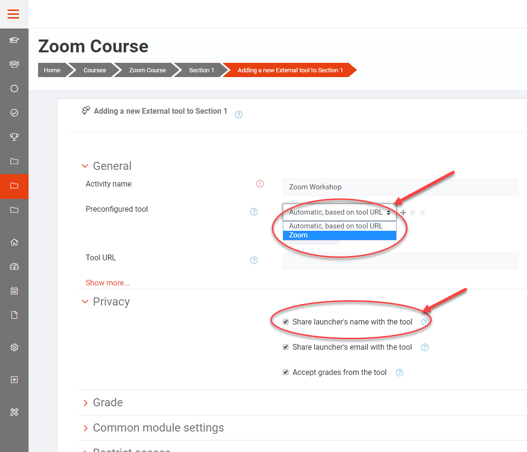
- In the privacy section, configure the following:
- Share launcher’s name with the tool: “Always”
- Share launcher’s email with the tool: “Always”
- Click Save changes.
- Once complete, Zoom’s LTI Pro will be listed as a tool.
Installing LTI Pro in a Moodle Course
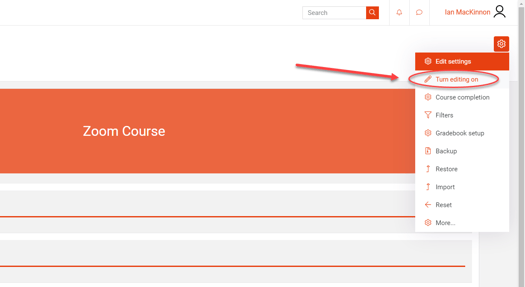
- Sign in as a trainer or administrator, go to the course, and turn on editing in the course.
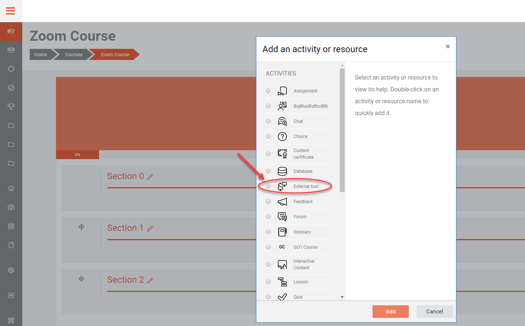
- Add an activity to the course.
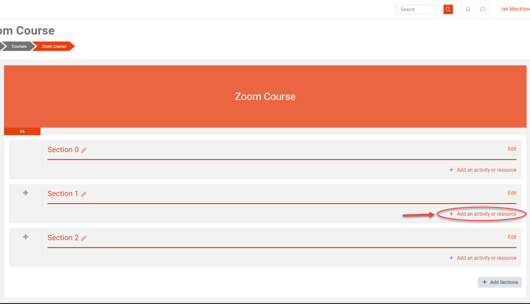
- Choose External tool.
- On the adding a new External tool page, choose the existing Zoom Video Conferencing (or whatever you named the tool) and save the setting.
- Click **Save and return to course **
After saving the configuration, the instructor can click the activity to launch Zoom LTI Pro.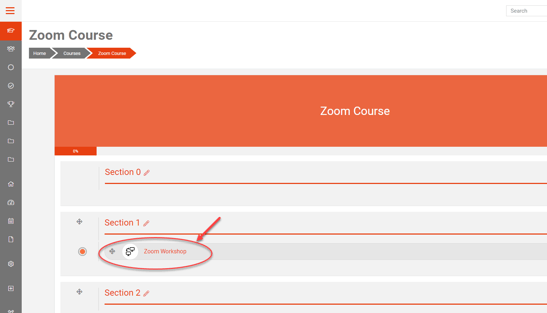
With Zoom LTI Pro, the instructor can schedule course meetings and view their meeting list. The students will be able to view the meetings that are scheduled for the specific course.
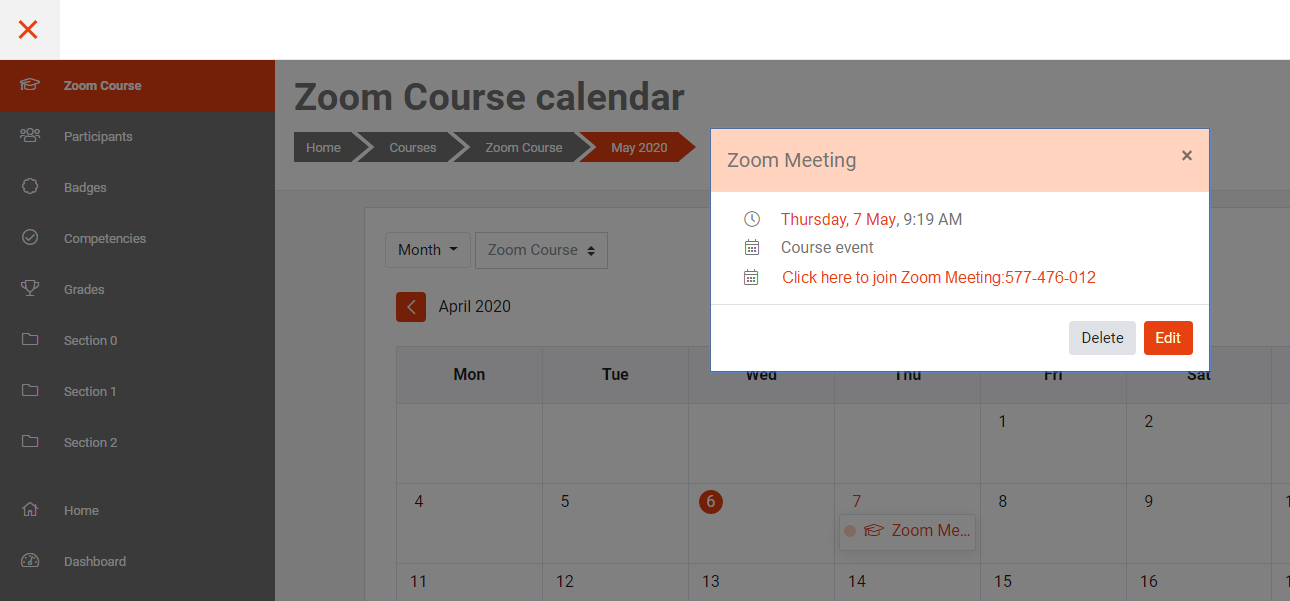
Moodle Calendar
LTI Pro allows meetings scheduled with the LTI to be posted to the Moodle Calendar.
Create a Token
- Login to Moodle as an Admin.
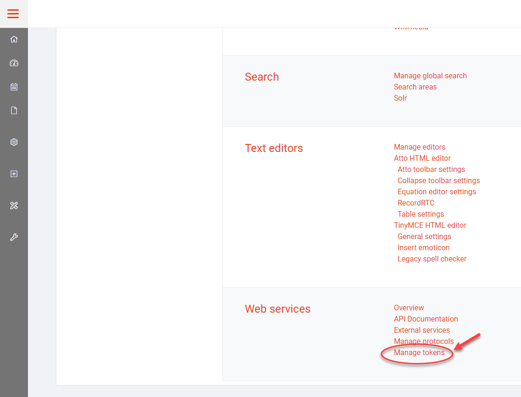
- Click Site Administration > Plugins.

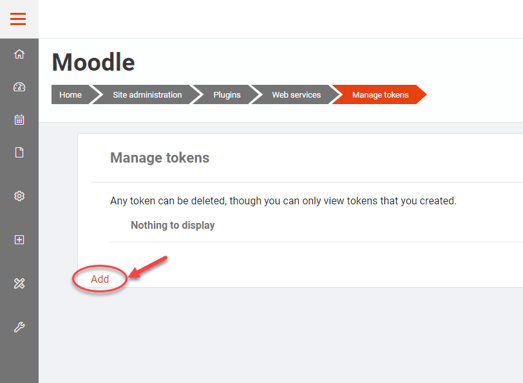
- Under Web services, click Manage tokens.
- Click Add under Manage tokens.
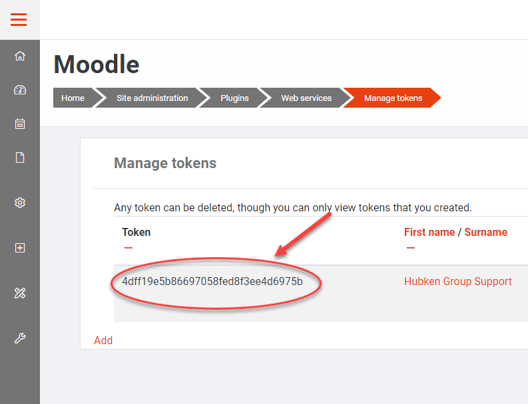
- Select Service as Moodle mobile web service and click Save changes

- Copy the token that was just created.
Configure Instance
- Navigate to the LTI Pro Configuration page
- Click 3rd Party Credentials > LTI Mooodle > Add Instance
- Paste the token copied from step 6 in the previous section and paste the token into the Access Token field.
- Click Save.


Verifying Meeting Creation for Moodle Calendar
- Create a meeting within Zoom.
- Navigate to your Moodle Calendar.
- Choose the desired course.
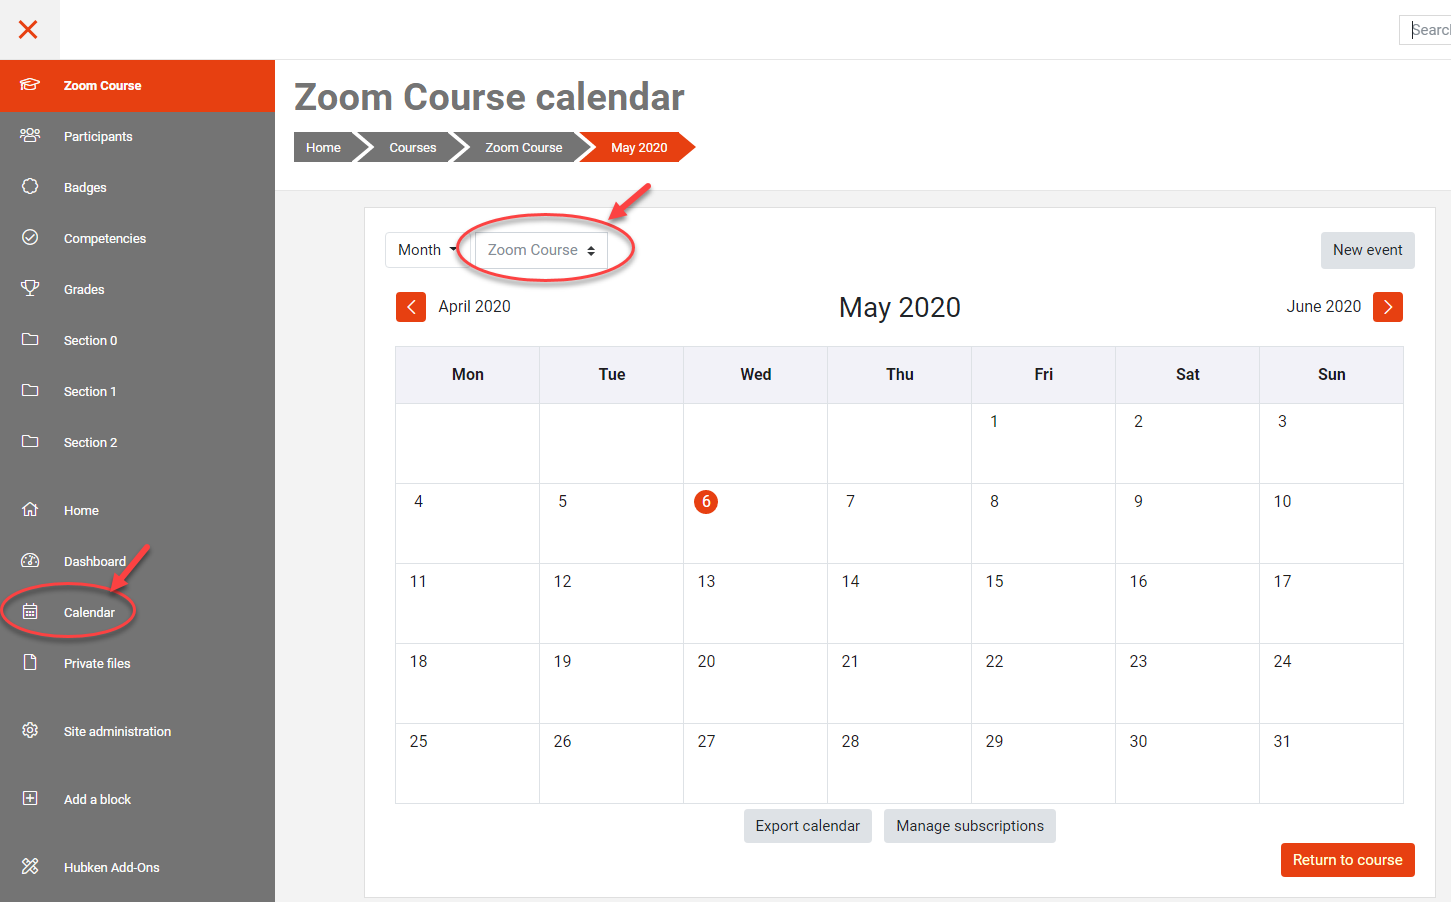
- Find the event on the calendar and verify you see Click here to join Zoom Meeting: <meetingID>.